This collection of recipes takes advantage of fresh, fall farmers market produce. Get inspired by recipes for apples, pears, grapes, pumpkin and winter squashes.
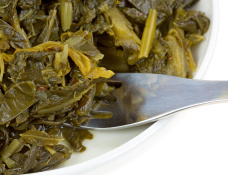
It’s that time of year and I know many of you will be making a pot of collard greens. I’ve included a healthier way to prepare your greens, but if you insist on enjoying the longer cooking version that we all grew up eating, there are still some healthier alternatives. Instead of using salt pork use smoked turkey instead. Wrap your turkey leg in foil and heat it in a 350 oven for about 30 minutes until it is heated thoroughly, and then add it to your greens. Let it cook with your greens until it falls of the bone. You can also cook your greens in a good chicken broth (homemade is better) instead of water. Can also season with a little liquid smoke and some red wine vinegar.
Why You Need Them:
Of all leafy greens, collards are best at binding your stomach’s bile acids, which can help lower your cholesterol levels and even protect you from some cancers. Collards also contain a special class of phytochemicals that nourish the body’s natural detoxifying system.
How to Eat Them:
Boiled collards are a soul-food staple, but unless you eat the broth, you’ll miss out on many nutrients. Steaming preserves more nutrients and increases bile-acid-binding activity. Jill Nussinow, a dietitian and chef, recommends kneading sturdy greens like collards or kale with olive oil for a few minutes before cooking to increase their flavor and make them easier to chew. Or massage with tahini and braise in garlic and lemon juice.
I am a HUGE fan of butternut squash. You could probably say I’m nuts for butternut squash.
Butternut squash offers home cooks with some incredibly easy culinary possibilities. You can just place it on a cookie sheet and bake in the oven for about an hour, or until you can pierce it with a sharp knife. Or remove the skin using a vegetable peeler and cut the flesh into chunks for steaming or sautéing. Once cooked, mash it, puree it for soup, fold it into a pasta or risotto dish, or simply savor your butternut squash as is. It has a naturally sweet flavor and is delicious.
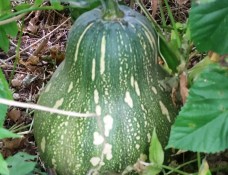
Although Butternut Squash is the most popular vegetable among winter squash varieties, it can also be a little intimidating if you have never cooked it. I know I used to just pass butternut squash by while shopping because I simply did not know what to do with it. But fortunately, as my culinary taste buds expanded, so did my interest in cooking this oddly shaped vegetable (technically it’s a fruit because of the seeds). And in doing so, I have discovered how wonderful butternut squash is.
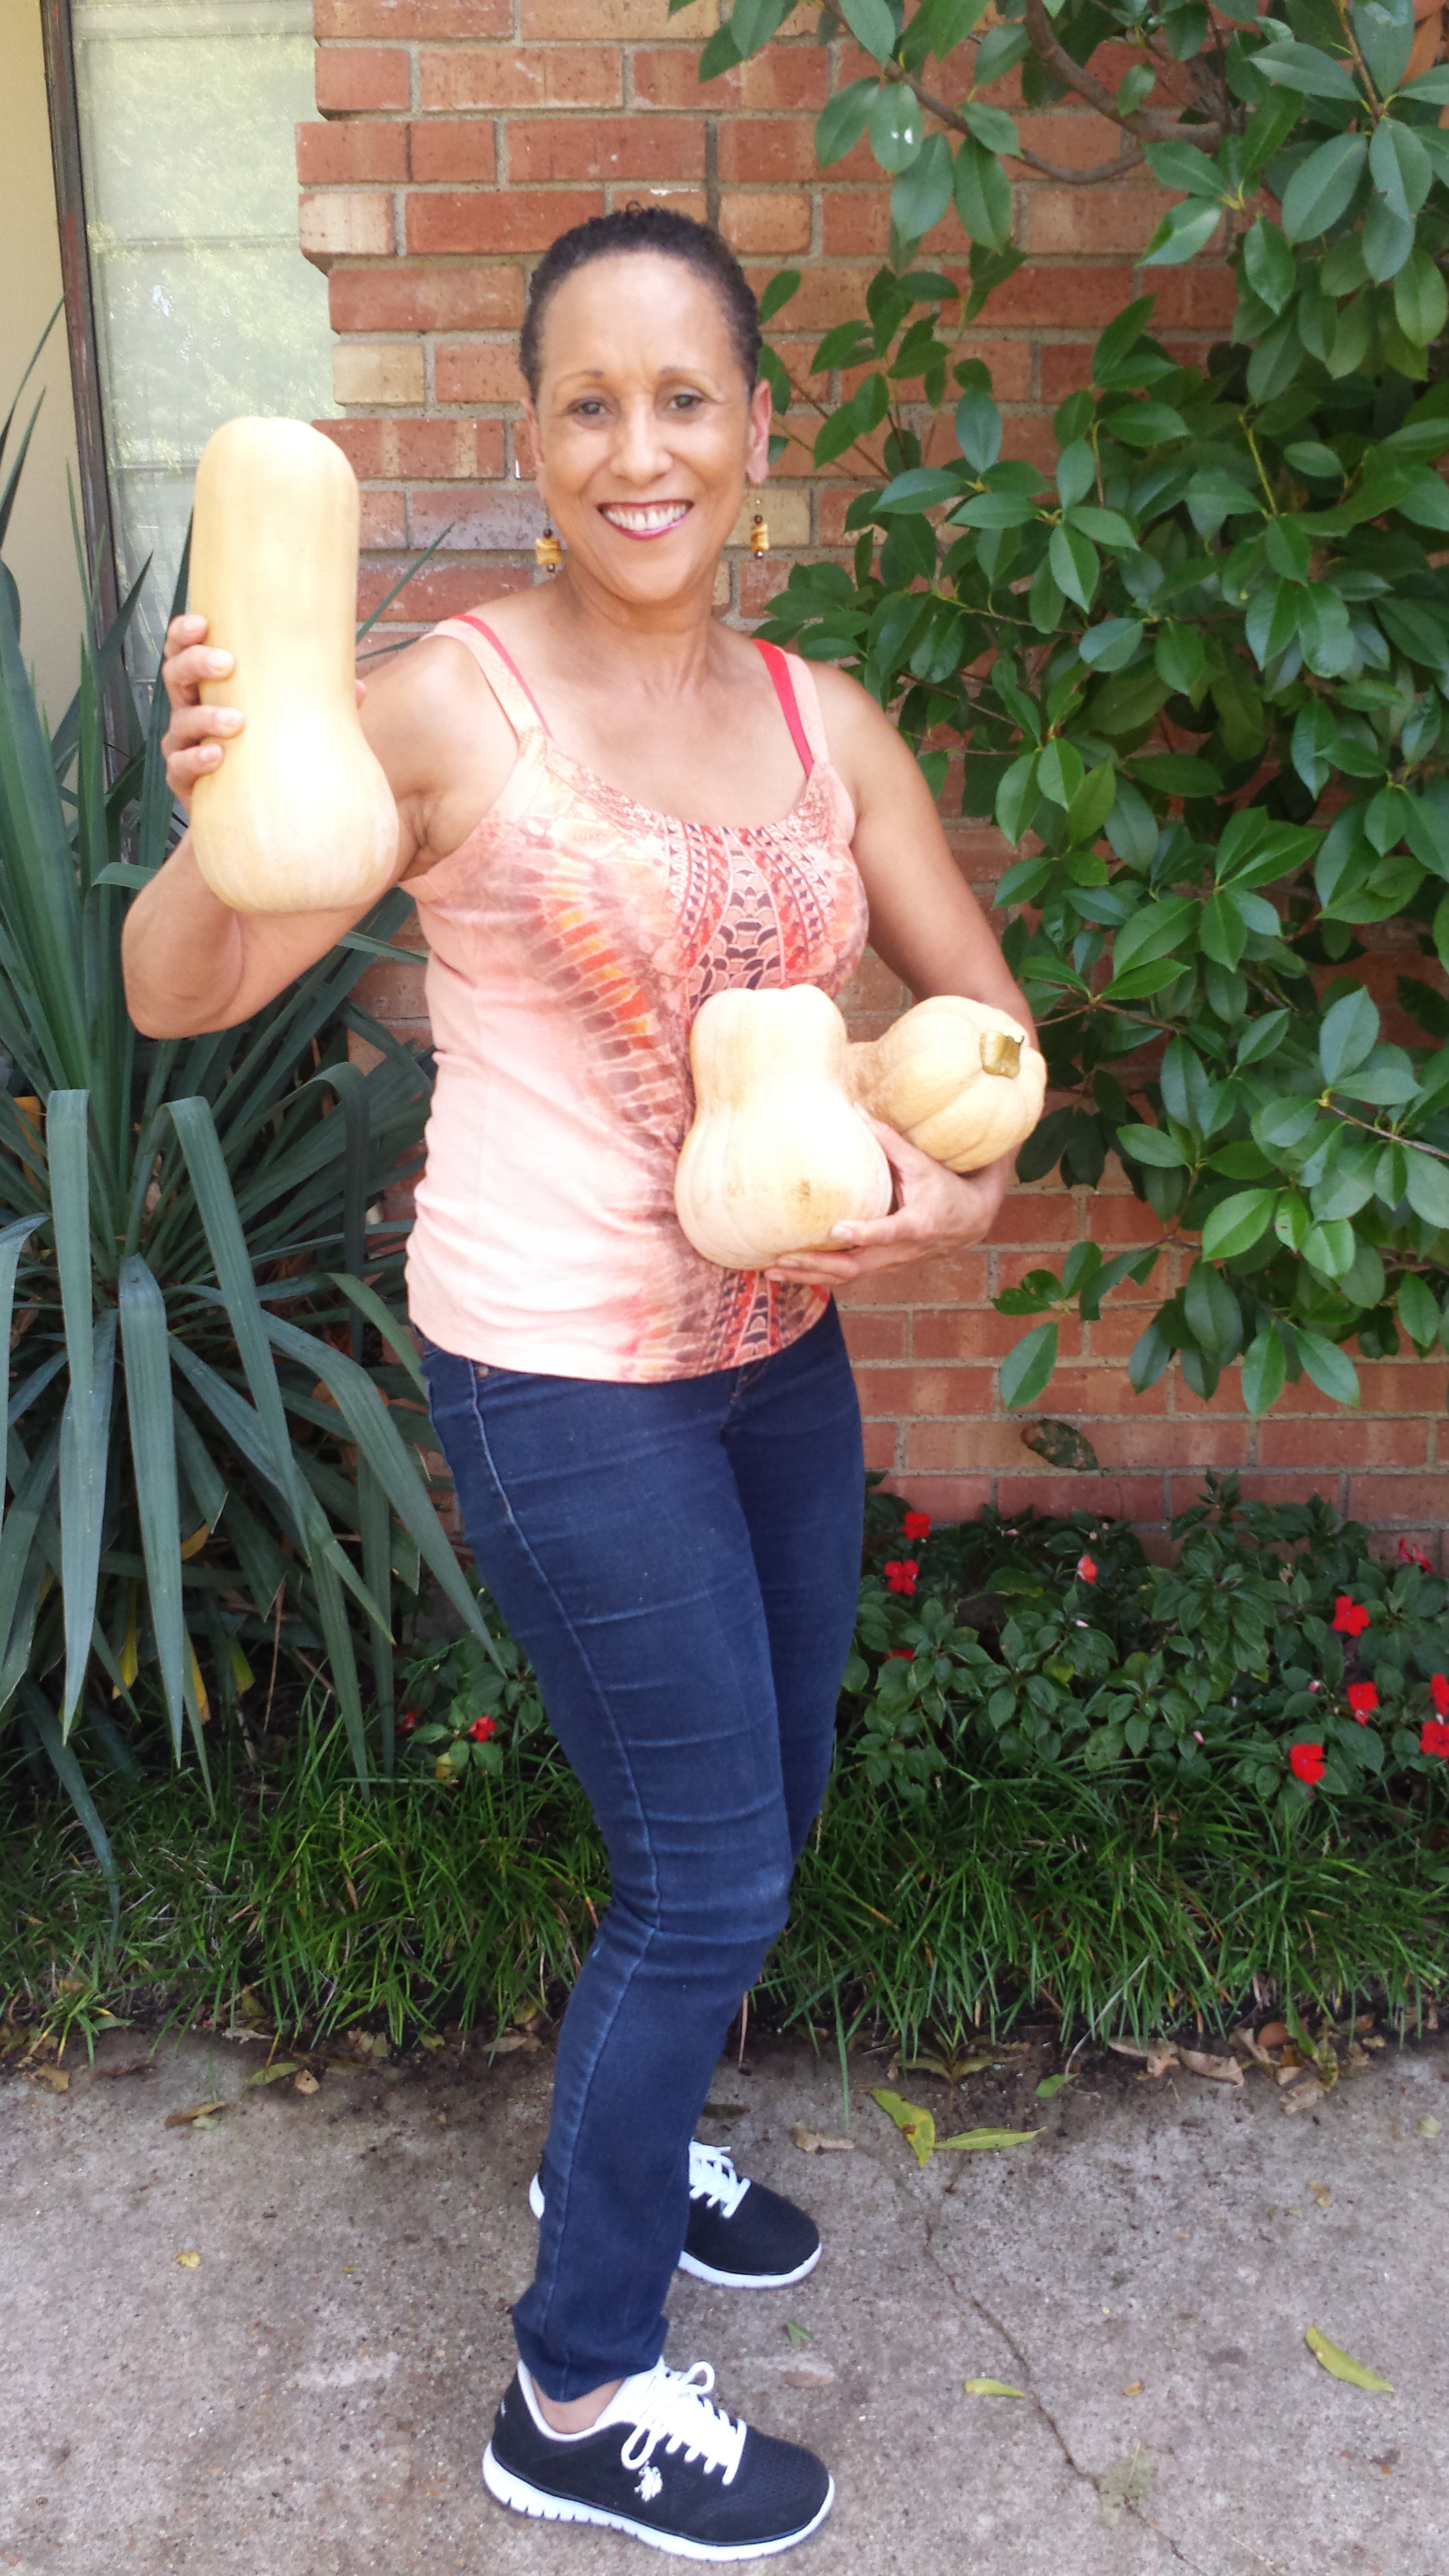
The squash you see in the photos were shipped to me all the way from New Jersey. My dear friend Anderson grew these in his garden. He has at least 30 of them and also has an amazing garden. You’ll see more of his garden in future blogs. As you can see, things don’t just grow big in Texas.
How to Buy Butternut Squash
Choose an unblemished fruit that feels heavy for its size with a matte, rather than glossy, skin. A shiny exterior indicates that the fruit was picked too early, and it won’t be as sweet as a fully grown squash. Most winter squash is available late into the fall. Store whole butternut squash in a cool, dry place (not the refrigerator) with plenty of ventilation; it should keep for up to three months. Cut squash will stay fresh for up to a week, wrapped, in the fridge.
How to Cut and Peel Butternut Squash
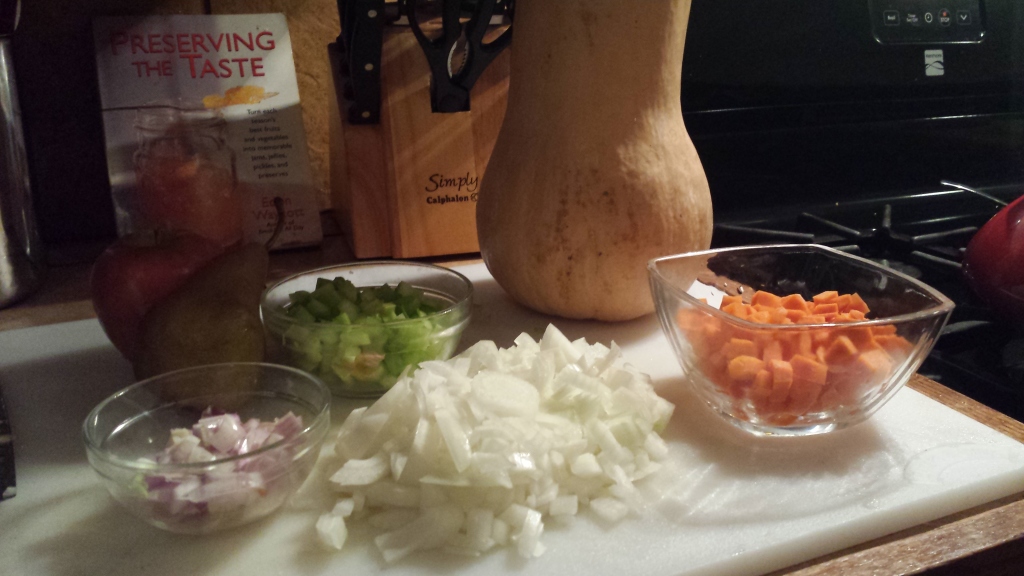
It’s really not hard at all. You basically cut off the ends, peel it with a very sharp knife or sharp vegetable peeler, cut it in half, scoop out the seeds and chop it up. Your knife or peeler must be sharp. It will not work if they are dull. There are many ways to prepare butternut squash and you can bake it, boil it or roast it. I prefer roasting because there is much more flavor when roasted. If I am making soup, I skip the steps of chopping and just roast it after cutting it in half and scooping out the seeds.
Cut off both ends of squash
Peel the skin of the squash off with a vegetable peeler or sharp heavy knife. Be sure your vegetable peeler is sharp. If your knife or peeler is dull this task will be nearly impossible to complete successfully. If using a knife, you can also make several penetrating cuts on the surface of the butternut squash. Once pierced, place the squash in the microwave and cook on high heat for 2 minutes. Warming butternut squash in the microwave is an effective way to soften the shell if needed.
Slice the peeled squash in half from top to bottom.
Scoop the seeds out with a spoon or with an ice cream scooper
Lay both halves of squash so that the cut side is facing down. Slice into 1 inch side wide pieces. These pieces can be sliced again to make smaller cubes, depending on your preference and the recipe you are preparing.
Health Benefits of Butternut Squash
Low in fat, butternut squash delivers an ample dose of dietary fiber, making it an exceptionally heart-friendly choice. It provides significant amounts of potassium, important for bone health, and vitamin B6, essential for the proper functioning of both the nervous and immune systems. The folate content adds yet another boost to its heart-healthy reputation and helps guard against brain and spinal-cord-related birth defects such as spina bifida.
Chef Sandra’s twist – I start with this basic recipe, but also add fresh ginger, an entire cut up Fuji apple and sometimes add a bit of almond milk instead of cream. The apple gives it a perfect sweetness and the ginger, mixed with the celery onions and carrots makes this soup amazing.
My niece, Kelli Douglas (my sister Agnes’ daughter), is on Season 7 of “THE VOICE” and we are all very excited in my family. Be sure to watch and support Kelli. It starts airing tonight!
Here’s a short blub from Kelli’s bio:
Kelli Douglas is a soulful singer with a desire to bring back timeless music. She has been a singer all her life, but only recently began to fully embrace the gift when she began recording 6 years ago in Dallas with a few local musicians. Since then, she sang with a regional cover band, The Ice House Band, for a few years, performing at wedding receptions, corporate events, and local nightclubs.
Kelli Douglas’s music is lyrical, but catchy. Classy, but sassy. She has been heavily influenced by artists such as Stevie Wonder, Donny Hathaway, Lalah Hathaway, Brandy, and D’Angelo, to name a few. She has had opportunities to rub elbows with artists and producers such as Timbaland and Jimmy Douglas. Kelli is a careful writer who puts a great deal of thought into each song. She has been told that her style is refreshing, and she hopes new fans will agree. She can be seen on Season 7 of The Voice.
Here’s a short music clip from a commercial that Kelli wrote and sung for the play “Suspicion, Lies and Sweet Potato Pies”. Kelli was also played a main role in the play.
Okay, so what does all that have to with okra??
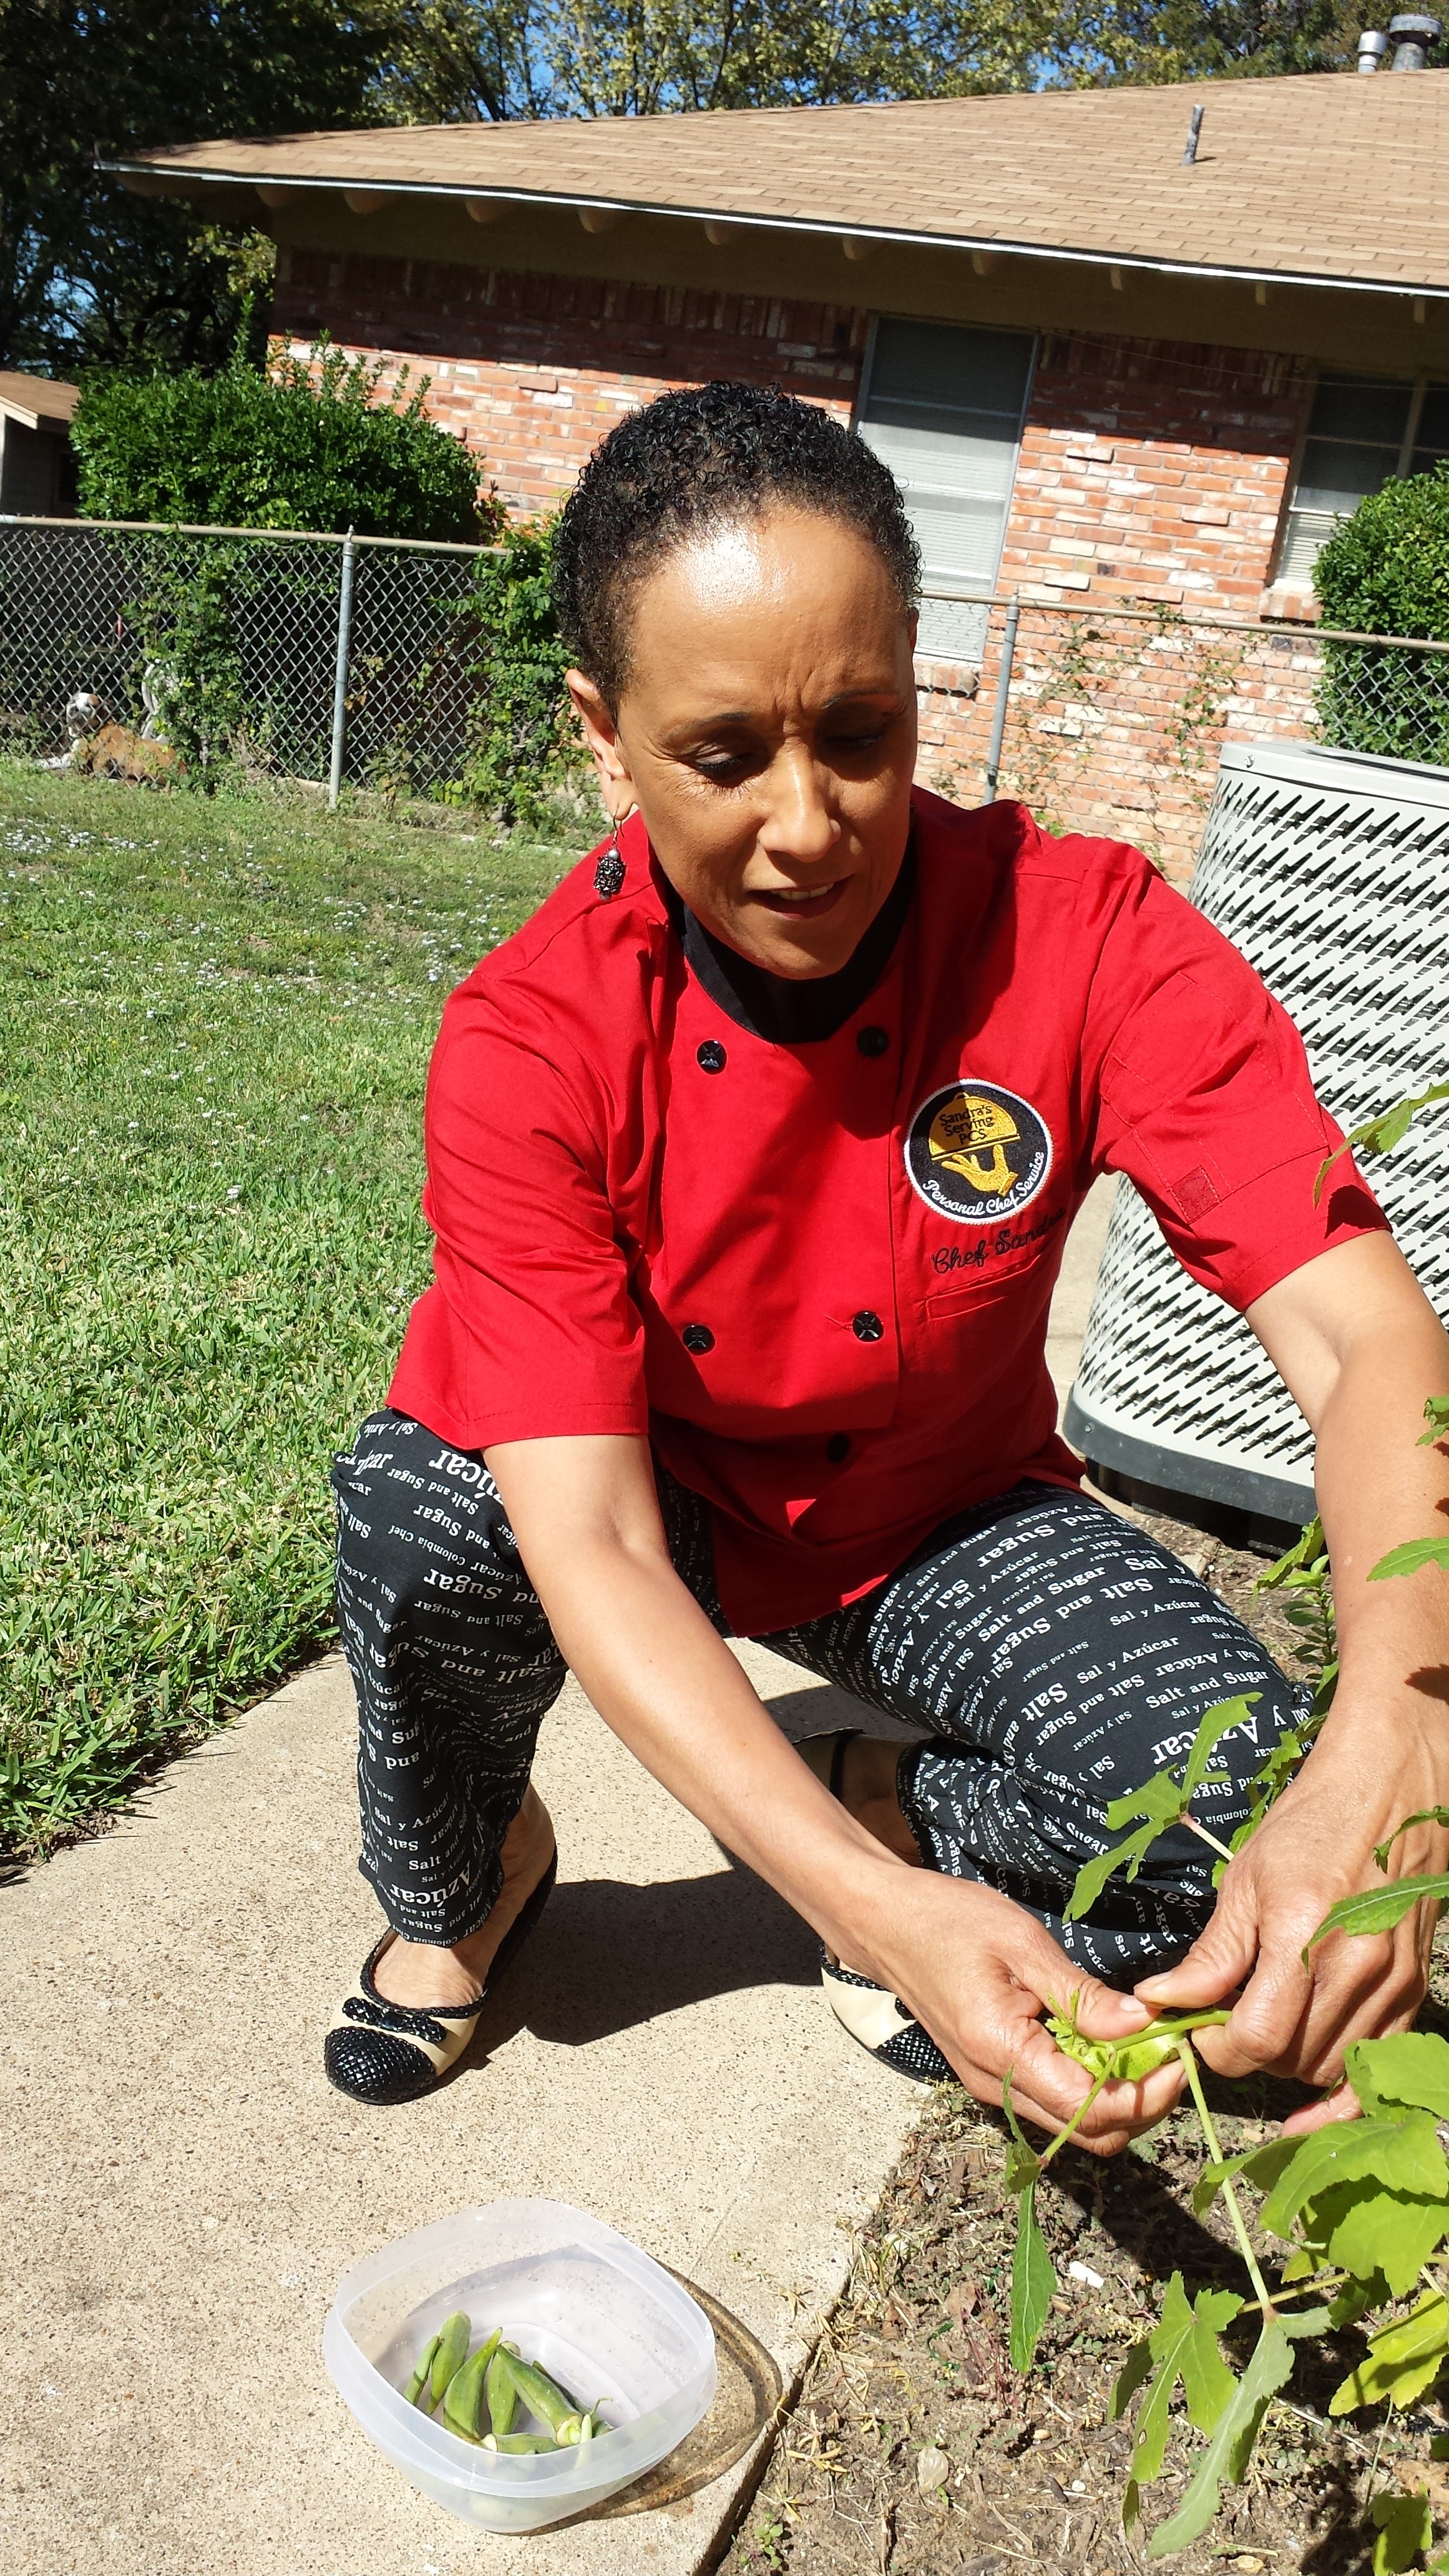
Well, like me, Kelli and her son Alex also love to garden and since they are also both vegetarian, they really love fresh vegetables. Alex has been my gardening buddy since he was probably around two years old and has helped me plant, pick and eat vegetables from my garden. He is now a pretty serious gardener himself and can name every vegetable in the garden. The photos of Alex are in my garden when he was younger and in 2013.
Kelli in her gardenAlex and me in my garden – 2011
Okra
The plant itself is one of the most heat and drought tolerant plants in the world.When grown in direct sunlight and watered sufficiently it grows quickly and continues to produce fruit. We are still picking okra from Agnes’ garden.
Okra has a mucilaginous texture, which is effective for thickening liquid-based foods. The vegetable can get slimy if not cooked properly but can be eaten in a variety of ways. It is a characteristic ingredient of gumbo, a Cajun specialty stew that is thickened with the starch from the pods.
History of Okra
Okra has a history that dates back to antiquity and was recorded to have been widely cultivated along the banks of the Nile in ancient Egyptian times.
The available historical data are vague about okra and its exact origin, but Africa is the commonly thought of beginning. From Ethiopia to South America and from North Africa to the slaver countries it was carried and documented to travel far and wide along the trade routes to Northern Europe and Asia.
Today the recipes for okra are found everywhere and okra is a popular staple throughout the world. As it grows best in warmer weather with plenty of water, the US center is and has been the Southern states where it first showed up with slaves that were brought over from Africa and the Caribbean.
An interesting side note is that many of the slaves brought over from Africa sequestered okra seeds, (and probably some other plant species), in their matted hair to use when, (and if), they arrived.
Health Benefits of Okra
Besides being low in calories it is aplenty with vitamins of the category A, Thiamin, B6, C, folic acid, riboflavin, calcium, zinc and dietary fiber. Eating okra is much recommended for pregnant woman besides other for it is rich in folic acid which is essential in the neural tube formation of the fetus during 4-12 weeks of gestation period in the mother’s womb.
The mucilage and fiber found in okra helps adjust blood sugar by regulating its absorption in the small intestine.
The fiber of okra has many superior qualities in maintaining the health of the gastro-intestinal tract.
It helps reabsorb water and traps excess cholesterol, metabolic toxins and surplus bile in its mucilage and slips it out through the stool. Due to greater percentage of water in the bulk it thereby prevents constipation, gas and bloating in the abdomen.
It is an ideal vegetable for weight loss and is storehouse of health benefits provided it is cooked over low flame to retain its properties. This also to ensure that the invaluable mucilage contained in it is not lost to high heat.
Okra facilitates the propagation of good bacteria referred to as probiotics. These are similar to the ones proliferate by the yoghurt in the small intestine and helps biosynthesis of Vitamin B complex.
Okra is an excellent laxative treats irritable bowels, heals ulcers and sooths the gastrointestinal track.
Protein and oil contained in the seeds of okra serves as the source of first-rate vegetable protein. It is enriched with amino acids on the likes of tryptophan, cystine and other sulfur amino acids.
Cultivation of Okra
Where do we get okra or how do we grow it? It doesn’t take much research to find the answers as okra is, as mentioned before, one of the oldest and most popular greens in the world.
Okra plants grows best in warm climates that aren’t prone to frost. In the US that means in the southern states it will grow most all year. In cash crop countries such as those who produce food crops for US consumption, (Mexico, Chile, etc.), it is made available throughout the year and will be shipped just about everywhere. If your favorite local market doesn’t carry it you may try asking for a case as it will be available through their suppliers.
If you want to plant okra for yourself, start by putting down seeds about three of four weeks after the last frost of the season. It’s very important that they have a full sun environment and good drainage. Place three or four seeds together about one half inch deep and six inches apart in rows two feet apart to allow yourself to work the plants as the pods ripen. Sprinkle water gently after the planting, but keep the plants wet after they start to grow, but not so much that puddles form.
As the plants break the surface, thin them out and space them about a foot apart as they will widen quite a bit as they mature. When the okra seed pods start to form pick them when they are three of four inches in length. If they get bigger than that they tend to get woody and lose their tender texture. At this point you need to check them every couple of days as they will have new growth popping out that often. The more you harvest the more they will be encouraged to grow.